
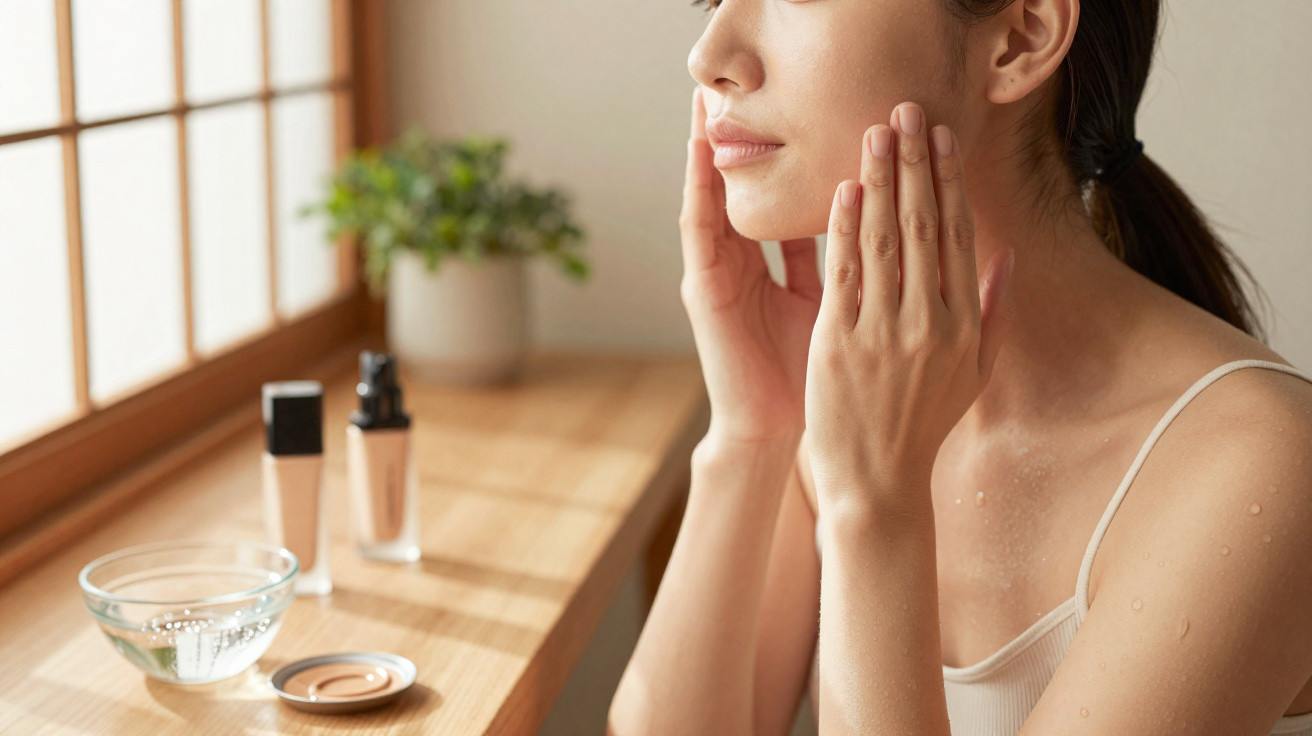
The buzz this time isn’t coming from TikTok, but from make-up studios in Tokyo: an internationally renowned make-up artist has demonstrated how foundation can still look like real skin even under harsh HD cameras. Her approach doesn’t rely on specialist products-just a bit of prep and a shift in what we expect foundation to do.
Why we so often end up looking “caked on”
Fine lines suddenly look deeper, dry patches become obvious, and in selfies the face can appear oddly rigid-almost like a mask. For most people, the problem isn’t only the formula; it’s usually the mix of skin condition, product texture and how it’s applied.
- Applying too much product in one go
- Choosing the wrong texture for your skin type
- Skipping proper skin preparation
- Spreading a thick, uniform layer instead of using thin, targeted zones
In Japanese beauty culture, the priority isn’t heavy coverage-it’s enhancing what your skin already does well. Foundation is meant to sit with the skin, not conceal it. That’s the principle behind this Japanese make-up artist’s technique, shaped by daily work on faces filmed in extremely high resolution.
“The basic rule is: the better your skin is prepared, the less foundation you need-and the more natural everything looks.”
The four-step method for a “second skin” complexion
This technique breaks down into four straightforward steps that you can slot into almost any routine. You don’t need to replace your entire make-up bag or buy the latest trend products.
Step 1: Targeted hydration, not just “cream everywhere”
Rather than smoothing on a single layer of day cream and hoping for the best, the artist adds hydration exactly where it’s needed most. Cheeks, the area around the mouth and the sides of the nose often feel tight-even when the T-zone is shiny.
The pro method:
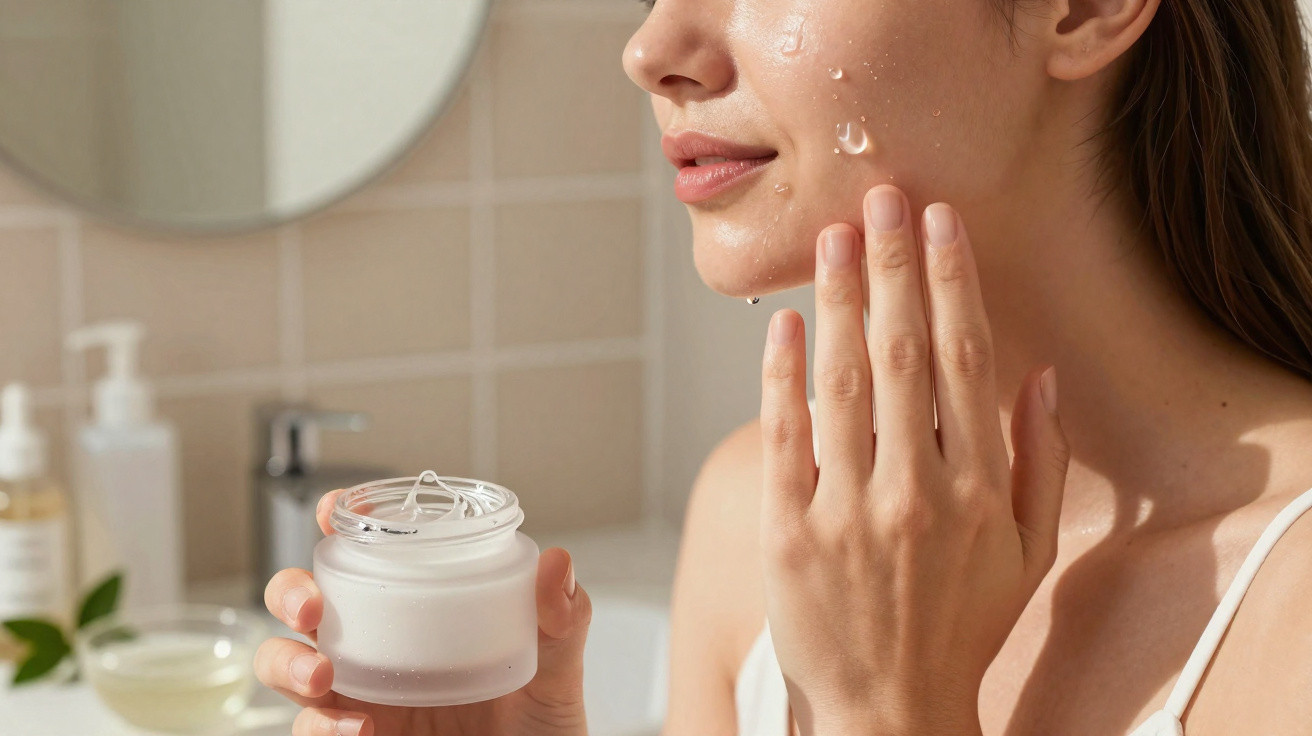
- After cleansing, apply a hydrating toner or a lightweight lotion.
- Soak cotton pads with the lotion.
- Place the pads on dry areas for two to five minutes (cheeks, sides of the nose, centre of the forehead).
This helps the top layer of skin take up water, leaving it smoother and more even. Foundation can then sit like a fine veil on top, instead of clinging to rough patches.
Step 2: A mini massage for softer-looking features
Straight after hydration comes a brief face massage. It may sound like a spa extra, but it has clear effects: the surface tension in the skin eases, circulation improves, and minor puffiness can settle.
How to do it in under two minutes:
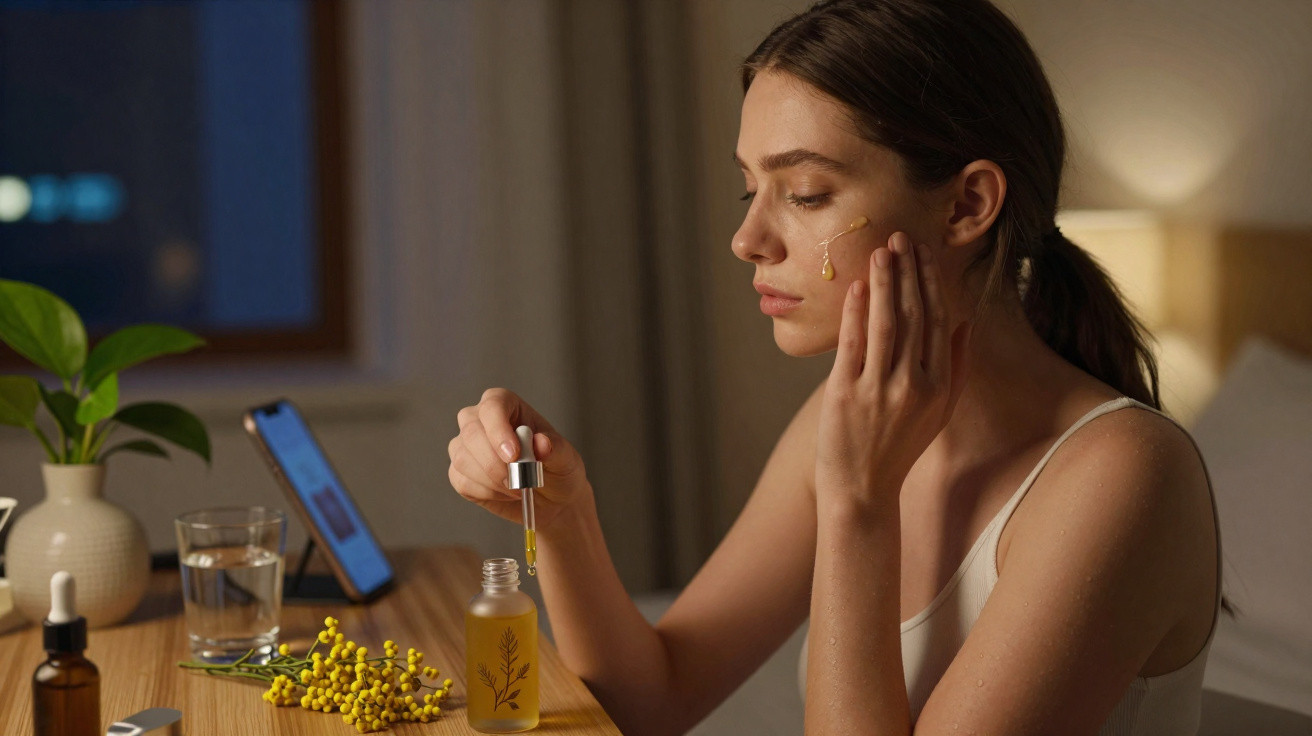
- Warm a small amount of serum or cream between your fingers.
- Using your fingertips, work in small circles from the centre outwards-from the bridge of the nose to the temples, and from the chin up towards the cheeks.
- Finish by gently sweeping the cheeks upwards with flat hands to emphasise a subtle “lifting” effect.
After this, foundation tends to grip more evenly, gathers less in fine lines, and looks less stiff.
Step 3: Mix foundation with concealer-rather than piling on layers
The real trick lies in combining products. Instead of applying foundation first and then dotting concealer on top, the artist blends the two together in the palm of the hand.
Method:
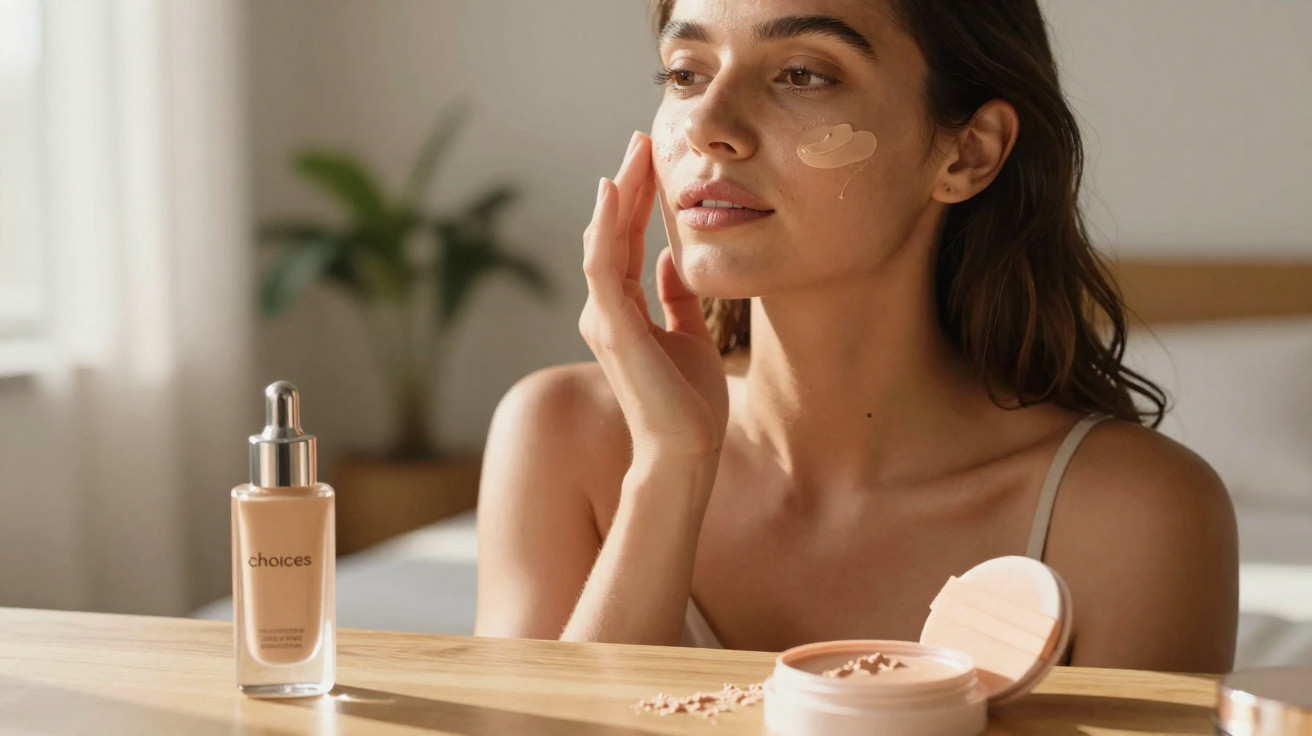
- Dispense a very small amount of foundation onto the back of your hand (half a pump is enough).
- Add a tiny dab of concealer.
- Mix thoroughly with a brush handle or a finger until the texture is completely uniform.
This increases coverage slightly while keeping the layer thin. That means redness, small blemish marks or mild under-eye shadows can be evened out with the same texture-without building extra layers.
“Fewer layers, more cleverness: a smart mixture replaces three thick coats of make-up.”
Apply the mixture with a brush, sponge or your fingers. The key is to begin in the centre of the face-around the nose, mouth and between the brows-and then shear it out so it becomes progressively lighter towards the edges.
Step 4: Create a more natural look with two shades
The final step may feel unfamiliar, but it makes a big visual difference: the artist almost never relies on a single foundation shade. Instead, she uses two:
- A shade that matches your skin tone precisely for the centre of the face
- A slightly warmer shade around the outer areas of the face
The logic is simple: in real life, the face isn’t one flat colour. The central area is usually a touch lighter, while the perimeter reads warmer. Using the exact same tone everywhere erases these natural transitions-and that’s when the classic “mask” effect appears.
Practical application:
- Start with the “perfect match” shade only where correction is genuinely needed: redness around the nose, uneven areas on the cheeks, faint shadows around the mouth.
- Then use the warmer shade very sparingly at the hairline, temples and along the jawline.
- Blend the edges briefly with a clean brush or sponge so no stripes remain.
How to adapt the technique to your skin type
The four steps stay the same, but product choices can change the outcome dramatically. This is where Japanese and Korean approaches stand out: lightweight, caring textures rather than a rigid, fully matte finish.
Dry or mature skin
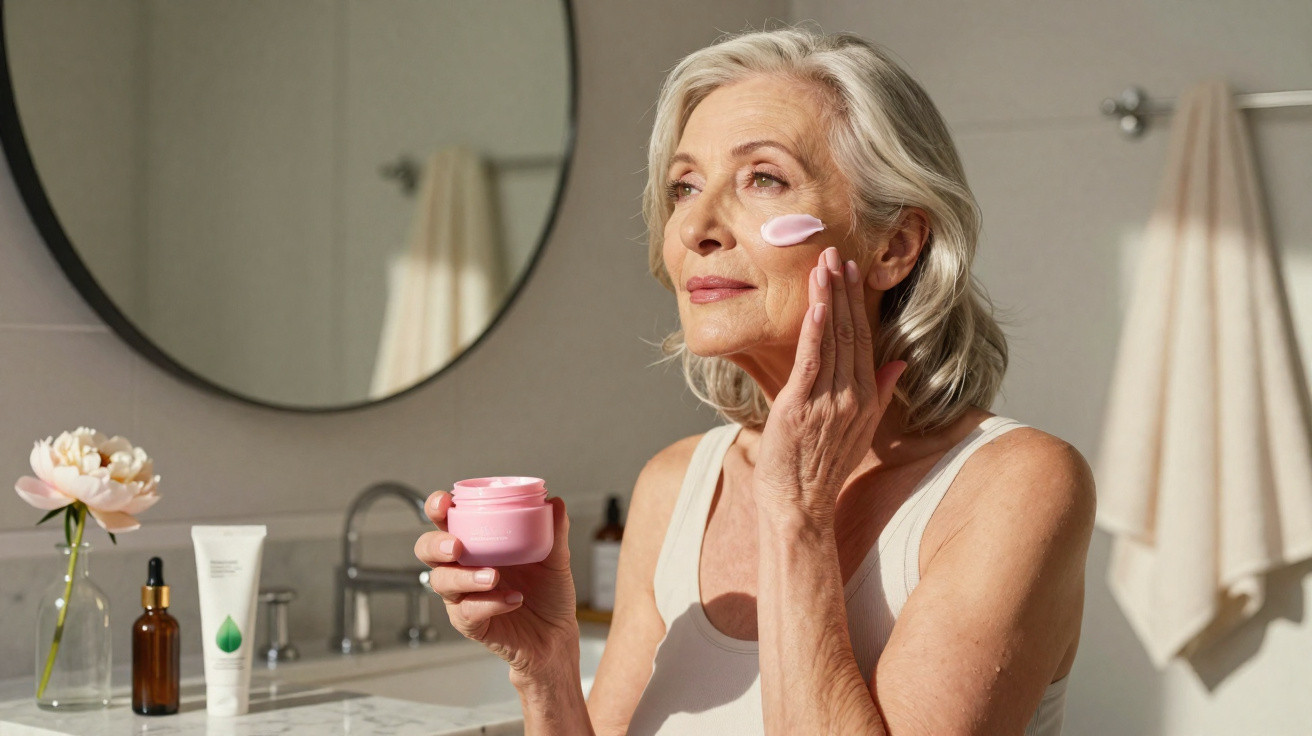
If you’re prone to dryness or fine lines, you’ll get better results from formulas that add moisture and leave a softer finish.
- Choose foundations containing glycerin, hyaluronic acid or squalane.
- Go for creamy textures with a gentle glow.
- Use powder only in small areas of the T-zone, not all over the face.
That way, light can still move across the skin, lines look less pronounced, and the “mask effect” is far less likely.
Combination and oily skin
If your T-zone gets oily but your cheeks are fairly normal, a different balance helps. Too much mattifying can drain the face of freshness, yet shine control still matters.
- Liquid or gel textures with a lightly satin finish work well.
- Apply an oil-free moisturiser before make-up.
- Use a finely milled powder only where you tend to shine quickly.
One key point: often, half a pump of foundation is enough for the entire face. Using more than that can create a mask-like look for no real benefit.
Common mistakes-and how to avoid them
| Mistake | Result | Alternative |
|---|---|---|
| Applying foundation on dry skin | Flaky patches emphasised, uneven surface | Add hydrating pads and a short massage |
| One thick layer instead of thin zones | Rigid, mask-like finish | Start in the centre and blend outwards |
| Overly matte finishing powder across the whole face | Flat, dull complexion | Powder only in targeted areas; allow some glow |
| Using only one shade | Unnatural uniformity | Use a second, warmer shade for the outer areas |
What “second skin” really means
The much-used phrase “second skin” doesn’t mean your skin becomes invisible. A natural-looking complexion still shows freckles, mild redness or texture-just softened and more balanced.
In Japan and Korea, visible pores aren’t treated as a flaw, but as evidence of living, real skin. That mindset takes pressure out of the routine: the goal isn’t porcelain, but a cared-for, even surface that suits your own face.
When you adopt that perspective, you naturally use less product and focus more on skincare, massage and thoughtful application.
When the method reaches its limits
People with severely inflamed acne, rosacea or pronounced pigmentation often need extra support, such as dermatological treatment or specialist medical foundations. In those cases, this Japan-inspired technique can complement other measures, but it can’t replace therapy.
Another essential point: sunscreen remains non-negotiable. Many Asian complexion products already include UV filters, whereas in European foundations this is less dependable. If you use this method, apply either a day cream with SPF or a lightweight sunscreen before foundation.
Done properly, the four-step trick adds barely five minutes to your morning. In return, the effect holds up throughout the day-and it’s especially unforgiving on a smartphone camera: less mask, more genuinely healthy-looking skin.
Comments
No comments yet. Be the first to comment!
Leave a Comment