
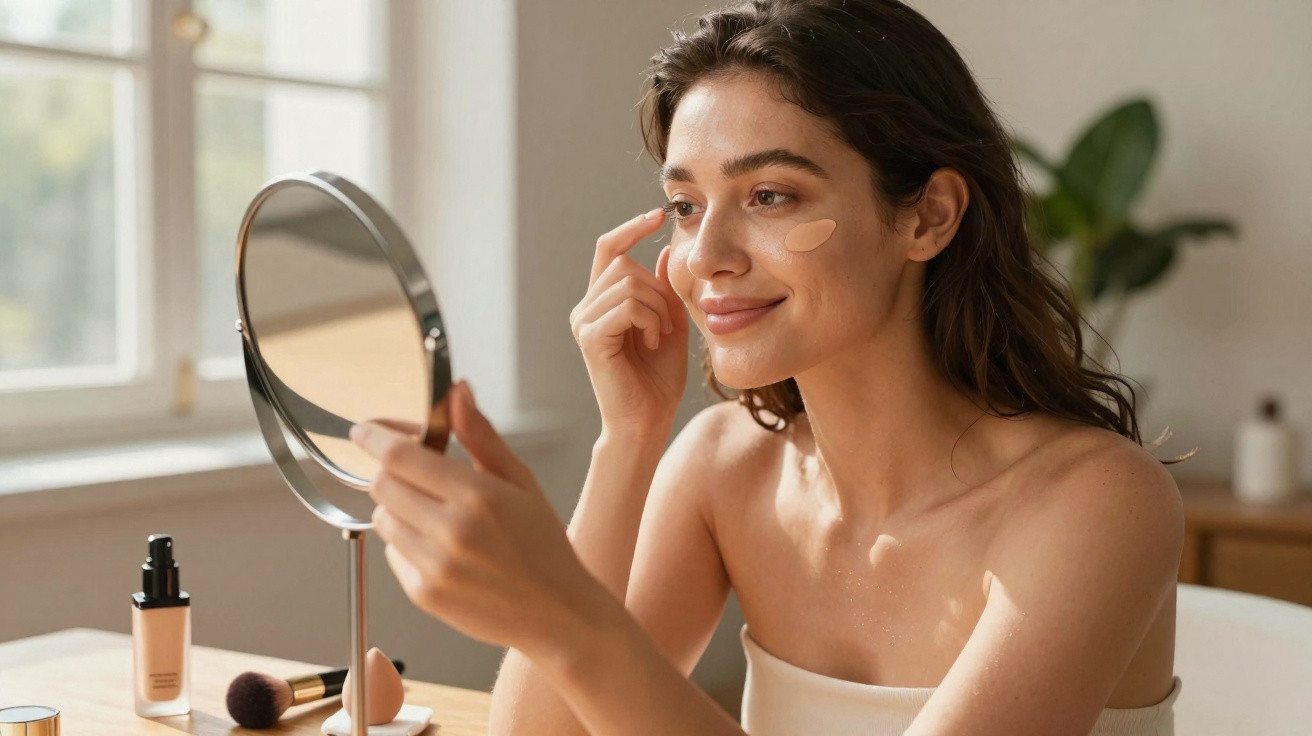
An experienced make-up artist is turning the usual routine on its head. His simple rule: using less product on certain areas makes the complexion look smoother, fresher and longer-lasting. If you know which parts of the face genuinely need full-coverage foundation - and which don’t - you save time and frustration, and the finish looks far more natural.
Why classic foundation routines often fail
At first, foundation can feel like a small magic trick: spots, redness and pigmentation seem to vanish in minutes. A few hours later, the mirror often tells a different story: product settles into fine lines, the forehead turns shiny, the nose looks greasy, and the whole complexion starts to look heavy and overdone.
This is exactly where the make-up professional’s advice comes in. In his experience, many people overload their face with product - especially on areas that naturally produce more oil or move a lot with facial expressions. Instead of creating a perfected look, it can read as a “mask”, particularly in daylight.
"A flawless complexion doesn’t come from more product, but from placing it in the right areas."
The area almost everyone over-applies
The main culprit is the so-called T-zone: the forehead, nose and often the chin as well. Particularly with combination and oily skin, this region produces noticeably more sebum than the cheeks.
That triggers several issues:
- Foundation breaks up more quickly on the forehead and nose
- Pores can look more obvious under the product
- Shine builds up dramatically throughout the day
- Powder collects in fine lines and wrinkles
A common knee-jerk reaction is: more powder, more foundation, more mattifying products. But that usually makes the result look worse. The layer on the skin gets thicker, and as the face moves it pushes product into lines and pores. Anyone who’s caught a shock glimpse of themselves in the office bathroom mirror mid-afternoon will recognise the problem.
The pro technique: put foundation only where it’s actually needed
So the make-up artist recommends a shift in approach: apply foundation first to the areas that need coverage and evening-out - and only lightly skim the T-zone at the end.
Step-by-step application
- Prep the skin properly, for example with a light moisturiser, then allow it to sink in briefly.
- Apply foundation to the cheeks, chin and, if needed, the neck - redness or unevenness often shows here.
- Blend with a brush, sponge or fingers until the finish looks even.
- Using whatever is left on your tool, sweep over the forehead and nose right at the end - just a whisper.
- Correct any remaining marks with concealer, rather than adding more foundation across a larger area.
The key point is that the forehead and nose no longer get their own thick layer. They only benefit from the residue that naturally remains on the brush or beauty sponge. The result is a barely-there veil rather than full coverage.
"On the forehead and nose, a thin veil is often enough - not the full amount."
Targeted correction instead of a full mask
Of course, there are days when a spot, redness or a dark mark sits right in the T-zone. On those days, the professional doesn’t reach for more foundation - he fixes it precisely.
What that looks like in real life
- Don’t paint over blemishes on the forehead or nose with a full layer
- Instead, place a tiny dab of concealer or corrector directly on the area
- Tap in gently with a fingertip or a small brush - don’t rub
- Soften the edges slightly so it disappears into the surrounding skin
To bring warmth back into the face, he doesn’t build up foundation. He uses bronzer along the hairline instead. That makes the forehead look more alive without risking product settling into expression lines.
How to adapt the technique to your skin type
Combination and oily skin
If you shine quickly, you’ll benefit most from taking the weight off the T-zone. The professional extends wear time with a focused powder approach:
- Mattify only the T-zone with a sheer layer of finely milled translucent powder
- Press powder in with a brush or puff rather than sweeping it back and forth
- During the day, blot away excess oil first with a tissue or blotting paper
- Only then add a very light top-up of powder, instead of piling on layers
This keeps the complexion looking more even, without the skin appearing overloaded. Under office lighting or party lighting, the difference can be obvious straight away: less greasy shine, more of that “naturally healthy” look.
Dry or mature skin
With dry skin and more visible lines - especially on the forehead - a thicker layer of foundation can emphasise every crease. As the day goes on, product settles exactly where the skin moves most. The overall effect can make the face look older and more tired.
When you significantly reduce the amount across the forehead and between the brows, the face stays more flexible. The complexion looks fresher, and lines draw less attention because there isn’t product collecting inside them. With a thinner layer, skin also feels more comfortable rather than tight.
Why “less” genuinely is “more” here
At first glance, this technique goes against the instinct to cover imperfections. But it follows a simple logic: the areas that get shiniest and move the most should carry the least product.
Cheeks often need more coverage because that’s where redness, broken capillaries or uneven tone tend to sit. The nose and forehead are more like “transitional zones” - places you smooth, not cement over. By putting your focus where it’s truly necessary, you get a calmer overall look with less product.
There’s another bonus too: using less saves money. Foundation, concealer and powder last longer, skin is less likely to feel irritated, and removing make-up in the evening becomes much more pleasant. Many people report after a few days that their skin looks better overall, because pores in the T-zone aren’t constantly being clogged.
Practical tips for everyday life
If you want to try the method, ease in gently: test it on a day off, while working from home, or at the weekend. A direct comparison - once with your old routine, once with targeted placement - often shows a noticeable difference on the very first attempt.
It also helps to check your skin a few hours later near a window in daylight. That’s where fine lines, texture and shine show up most clearly. If your forehead and nose still look even and not greasy, the technique is working for you.
If you’re often on camera, for example in video calls, you’ll notice it too: features appear softer, light reflects more evenly, and skin doesn’t look so heavily “plastered on”. High-definition cameras are unforgiving with thick layers - careful placement with minimal product is the better route.


Comments
No comments yet. Be the first to comment!
Leave a Comment